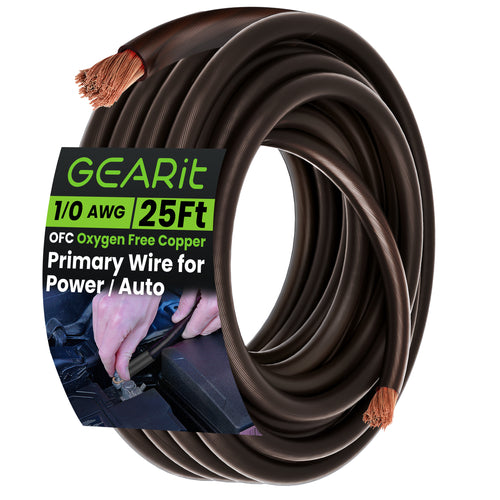
Properly grounding your car battery ensures a stable electrical system and prevents malfunctions. Use high-quality, correctly sized wires and secure connections to maintain safety and efficiency for your vehicle’s electrical system.
Upgrade your vehicle's grounding with GearIT’s premium electrical cords:
Keep your car’s electrical system safe and reliable—shop GearIT for durable grounding solutions today! ⚡🚗
Grounding a car battery is a fundamental aspect of vehicle maintenance and safety. At GearIT, we understand the nuances of electrical systems in automotive settings and the importance of proper grounding. This blog post will guide you through the process of grounding your car battery correctly, ensuring safety and optimal performance of your vehicle's electrical system.
Understanding the Basics of Car Battery Grounding
Grounding in automotive contexts refers to the method by which the car's electrical system is connected to its frame. This is essential for two primary reasons: it completes the electrical circuit and provides a safe route for excess electricity to dissipate. In most vehicles, the negative terminal of the battery is connected to the chassis, effectively grounding the entire electrical system.
Importance of Proper Grounding
- 1. Safety: Incorrect grounding can lead to electrical shorts, which pose a fire hazard and can damage components.
- 2. Performance: Proper grounding ensures that electrical components function correctly, preventing issues like dim lights, irregular performance, or difficulty in starting the engine.
- 3. Equipment Protection: It safeguards sensitive electronic components in your vehicle from voltage spikes.
Step-by-Step Guide to Ground Your Car Battery
Materials Needed:
- • Wrench set
- • Wire brush
- • GearIT Grounding cables and accessories
Steps:
-
1. Locate the Grounding Point: This is typically where the negative battery cable connects to the frame or engine block. Consult your vehicle’s manual if unsure.
-
2. Inspect Existing Ground Cable: Check for any corrosion, damage, or wear. Replace the cable if it shows signs of damage. GearIT offers high-quality OFC ground cables that are durable and reliable.
-
3. Disconnect the Battery: Begin by disconnecting the negative terminal (marked with a minus sign or the color black) to prevent any electrical short or shock.
-
4. Clean the Connection Points: Use a wire brush to clean the battery terminal and the grounding point on the frame or engine block. This ensures a strong, clean connection.
-
5. Attach the Ground Cable: Connect one end of the GearIT grounding cable to the negative terminal of the battery. Tighten securely with a wrench.
-
6. Connect to the Grounding Point: Attach the other end of the cable to the grounding point on the frame or engine block. Ensure it’s tightly secured.
-
7. Reconnect the Battery: Once the ground cable is securely in place, reconnect the positive battery terminal.
-
8. Test Your Connection: Start your vehicle to ensure that it's functioning properly.
Best Practices and Tips
- • Regular Inspection: Regularly check the condition of your grounding cable and connections.
- • Quality Materials: Use high-quality cables and connectors, like those available at GearIT, for reliable grounding.
- • Secure Connections: Make sure all connections are tight and free from corrosion.
Properly grounding your car battery is essential for the safety and efficiency of your vehicle’s electrical system. By following these steps and utilizing quality GearIT products, you can ensure that your vehicle's electrical system is grounded correctly.


