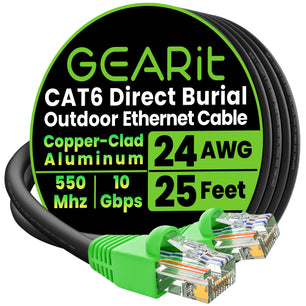
In the world of networking, having the flexibility to create custom-length Ethernet cords can be a game-changer. Whether you're optimizing your home network, setting up a new gaming rig, or simply tidying up cable management, knowing how to make your own Cat6 Ethernet cord empowers you to tailor your network infrastructure to your exact needs. In this guide, we'll walk you through the step-by-step process of crafting your own Cat6 Ethernet cord with ease.
Understanding Cat6 Ethernet Cords
Cat6 Ethernet cords are designed to support high-speed data transmission and are commonly used in home and business networking setups. They feature twisted pairs of copper wires and are capable of delivering Gigabit Ethernet speeds and beyond.
Materials Needed
Before diving into the process, gather the following materials:
- ● Cat6 Ethernet cable (bulk spool or pre-terminated ends)
- ● RJ45 connectors (compatible with Cat6 cable)
- ● Crimping tool
- ● Cable cutter/stripper
- ● Ethernet cable tester (optional but recommended)
Step-by-Step Guide
Follow these simple steps to create your own custom-length Cat6 Ethernet cord:
1. Measure and Cut
Determine the desired length of your Ethernet cord and use a cable cutter/stripper to trim the Cat6 cable to size. Ensure that the cut is clean and straight to facilitate proper termination.
2. Prepare the Cable
Carefully strip approximately 1-1.5 inches of the outer jacket from the cable end to expose the twisted pairs of wires. Be cautious not to nick or damage the inner wires during this process.
3. Arrange Wires
Untwist and straighten the pairs of wires, following the T568B or T568A wiring standard. Arrange the wires in the correct order according to the chosen wiring scheme, ensuring consistency across both ends of the cable.
4. Insert Connector
Slide the RJ45 connector onto the end of the cable, making sure that the wires reach the end of the connector and align with the appropriate pin slots. Double-check the wiring sequence to avoid errors.
5. Crimp Connector
Once the wires are properly aligned, use a crimping tool to securely crimp the connector onto the cable. Apply firm and even pressure to ensure a reliable connection.
7. Repeat for Second End
Repeat the above steps to prepare and terminate the other end of the Ethernet cable, maintaining consistency in wiring and connector placement.
8. Test Connection (Optional)
If available, use an Ethernet cable tester to verify the integrity of the connections and ensure proper continuity. This step helps identify any wiring errors or faults that may affect performance.
Congratulations! You've successfully crafted your own custom-length Cat6 Ethernet cord. Whether you're extending your network reach, optimizing cable management, or simply enjoying the satisfaction of a DIY project, mastering the art of making Ethernet cables opens up a world of possibilities for your networking needs. With the right tools, materials, and know-how, you can confidently create tailored Ethernet solutions that suit your specific requirements. So, roll up your sleeves, get creative, and enjoy the freedom of custom networking solutions with DIY Cat6 Ethernet cords.


