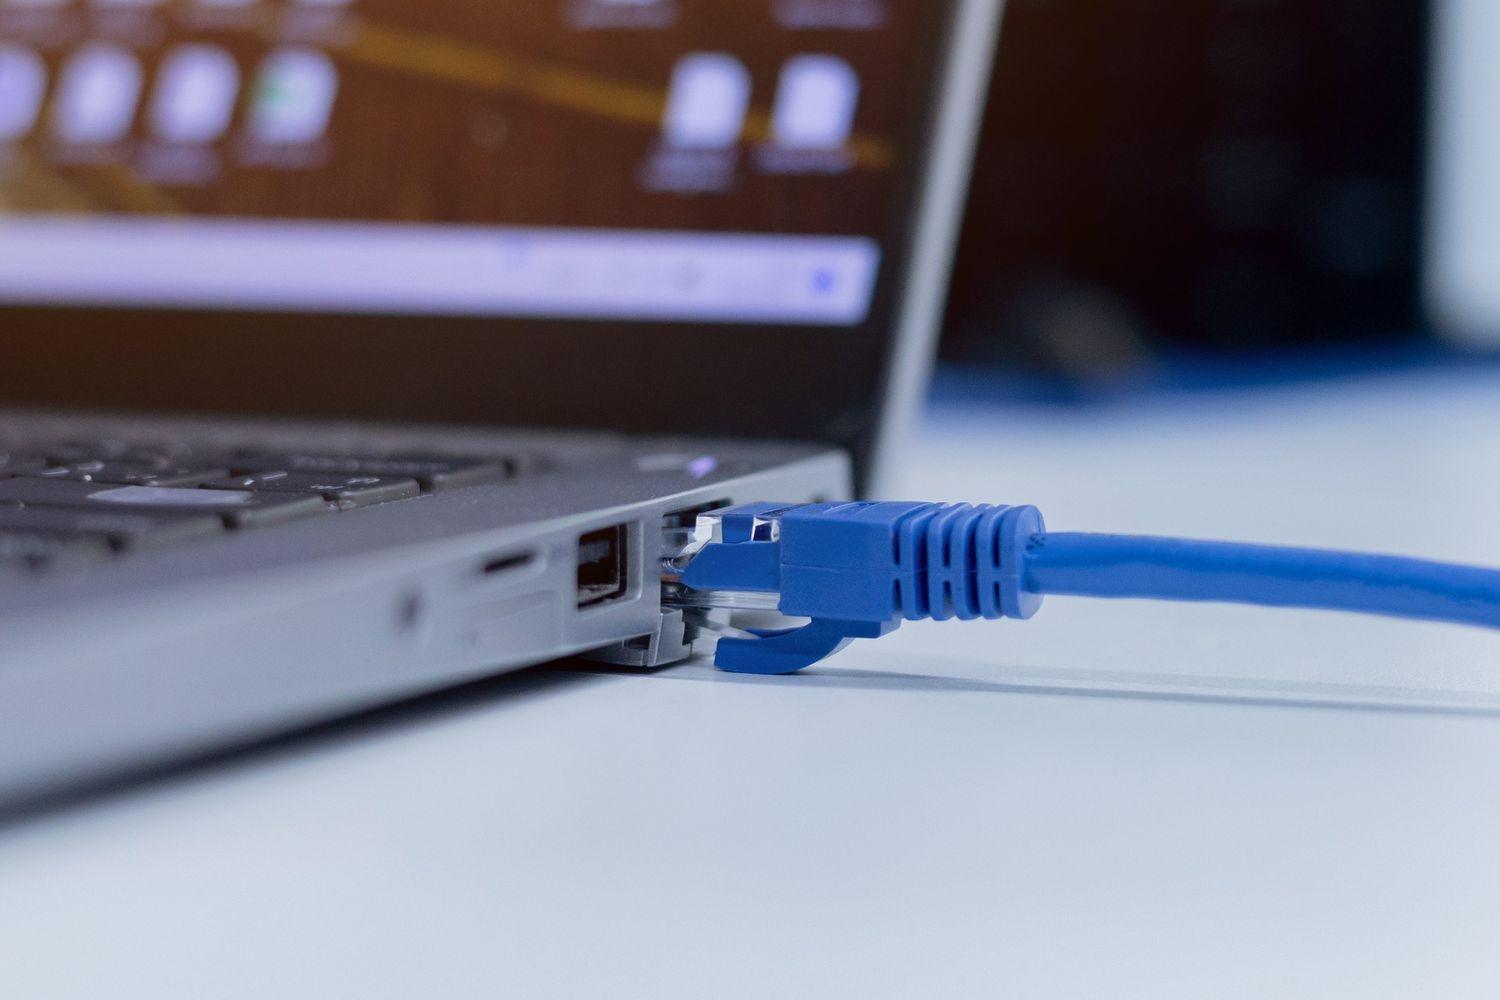
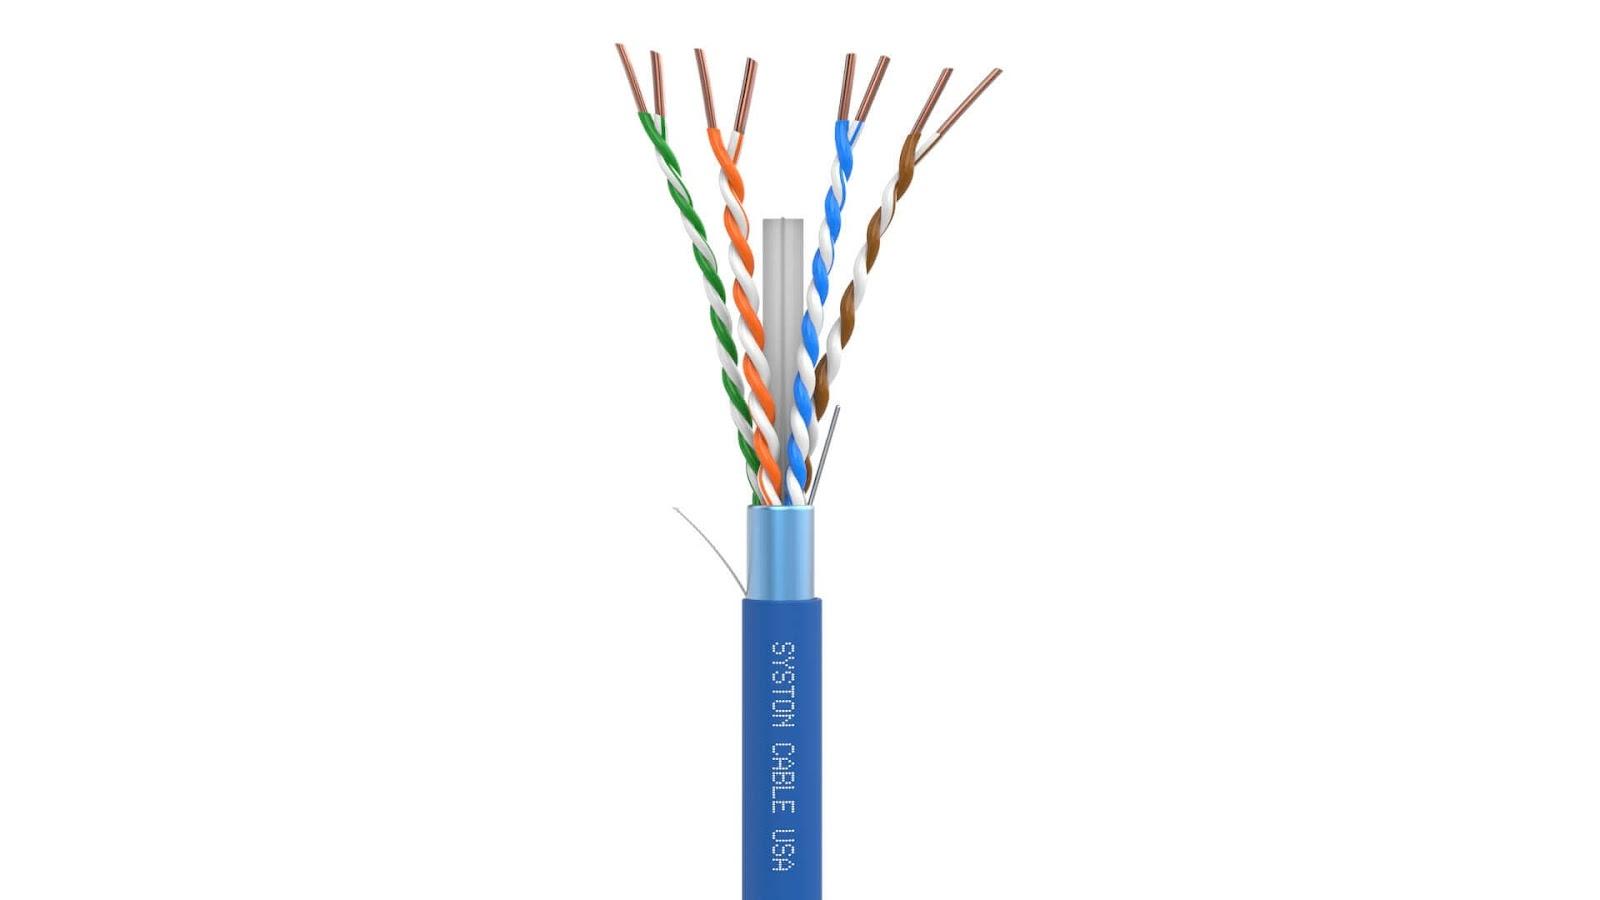
Understanding LAN Cable Categories
A LAN cable’s category defines its bandwidth ceiling, insertion loss budget, and crosstalk suppression—all parameters that decide how much data you can push before errors creep in. Choosing the correct generation now avoids drywall dust later when you upgrade NICs or switches. The sections below compare Cat5e through Cat8 so you can spec with confidence.
Cat5e: A Decade of Service
Cat5e delivers 1 Gbps over 100 m at 100 MHz, making it a cost‑effective choice for small offices, surveillance backbones, and IoT sensor grids. Its 24‑AWG solid copper cores strike a balance between flexibility and low resistance, while unshielded construction keeps per‑foot pricing low.
Although Cat5e meets today’s gigabit baseline, it lacks margin for 2.5 GbE or dense 802.3bt PoE loads. Deploy it only where cables run short, EMI is minimal, and future bandwidth demands are predictable.
Cat6: Gigabit Plus Growth Room
Cat6 boosts bandwidth to 250 MHz and supports 10 Gbps to 55 m, thanks to 23‑AWG conductors and tighter twist ratios. Internal cross‑fillers help maintain pair separation, lowering near‑end crosstalk in cable trays.
For offices planning 2.5 GbE switch upgrades or Wi‑Fi 6 backhaul, Cat6 offers a sweet spot of price and performance. Ensure bend radius stays ≥ 4× cable diameter to preserve impedance and avoid reflections that kill throughput.
Cat6A: Ten‑Gig Over the Full Run
Cat6A doubles the bandwidth again to 500 MHz and holds 10 Gbps for the full 100 m channel. Foil tape or braided shields quell alien crosstalk, critical when bundles exceed 24 cables per tray.
If you intend to drive multi‑gigabit Wi‑Fi 7 APs, VR streaming rigs, or edge servers, Cat6A supplies headroom without exotic tooling. Note that the thicker jacket requires 1‑inch conduit for easy pulls.
Cat8: Short‑Reach Rocket
Cat8 rockets to 2 GHz and 40 Gbps, but only for 30 m permanent links. Each 22‑AWG pair carries individual foil and braid shields, and factory RJ45 terminations guarantee consistent return loss.
Deploy Cat8 for top‑of‑rack switch stacks, broadcast camera interconnects, or edge‑compute pods that demand fiber‑like speed with copper simplicity.
Key Performance Specs
Selecting cabling by category alone can still miss critical variables such as conductor purity or shield effectiveness. Evaluate the following metrics before cutting the purchase order.
Conductor Material
Oxygen‑free bare copper conducts with lower resistance than copper‑clad aluminum, translating to cooler PoE runs and tighter signal rise times. Verify ASTM B3 or IEC 60228 compliance on spec sheets before committing volume dollars.
CCA may pass continuity tests yet fail under sustained 90 W loads, leading to brown‑outs on PTZ cameras and Wi‑Fi mesh nodes. For any circuit that powers devices as well as carries data, solid copper is non‑negotiable.
Shielding Topologies
UTP suits classrooms and living rooms where EMI stays low. Foil‑twisted pair (FTP) adds 100 % coverage against fluorescent ballasts, while S/FTP combines per‑pair foil with an overall braid for industrial plants bristling with VFD motor noise.
Select shielding equal to the worst‑case environment across the entire run, not just the room at either end, to stop differential mode noise from coupling onto the link.
Jacket Ratings
Cable jackets carry more than color—they dictate flame spread and smoke toxicity. CM handles open spaces, CMR clears vertical risers, and CMP survives 1,500 °F plenum ducts without dripping flaming debris.
Outdoor jackets using LLDPE resist UV and moisture for direct burial or rooftop trays, eliminating the need for conduit in low‑impact zones.
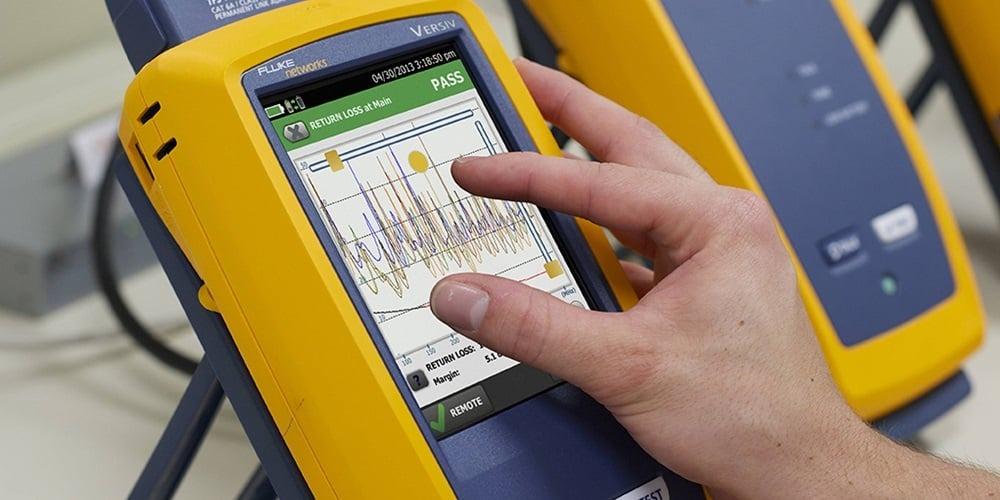
Certification & Test Reports
Factory Fluke DSX reports list insertion loss, NEXT, and PSANEXT margins; insist on them for every reel. Post‑pull channel certification catches installer errors before patch panels hide them behind faceplates.
Archiving .flw files provides audit trails for warranty claims and accelerates root‑cause analysis when field devices misbehave.
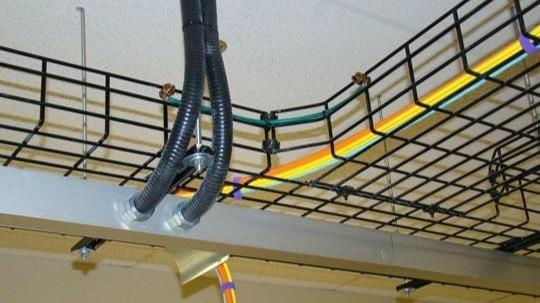
Installation Best Practices
A cable rated to 10 Gbps on paper still fails if staples pierce jackets or excess tension untwists pairs. Even slight deformations create micro‑kinks that automated testers might miss, leading to random packet loss months later. Treat every run like delicate instrumentation—avoid dragging across rough concrete and cap conduit edges to prevent hidden nicks—so performance mirrors the factory spec sheet.
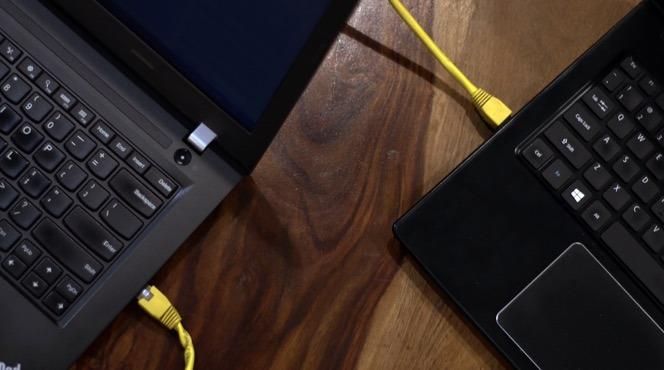
Pulling & Routing
Use cable lubricants and low‑friction bushings when pulling long runs of Ethernet cables, especially stiff CAT 8 Ethernet cables, through conduit that exceeds 40 % fill. Keep continuous pulls below 25 lbs of tension to prevent micro‑fractures that raise impedance and silently throttle throughput, undermining your gig‑speed internet connection. For hallways longer than 100 feet, stage pulls in segments and labels each patch cable with the distance marker so future techs know where slack lives.
Plan routes away from EMT carrying 120 V; if paths must run parallel, maintain 12 inches separation or use shielded cable grounded at one end to block inductive coupling. Color‑coded clips and wayfinding labels every 20 feet let technicians trace links without flashlight‑and‑mirror gymnastics, while a clear boot on every RJ45 connector gives instant visual confirmation that pairs stayed in order.
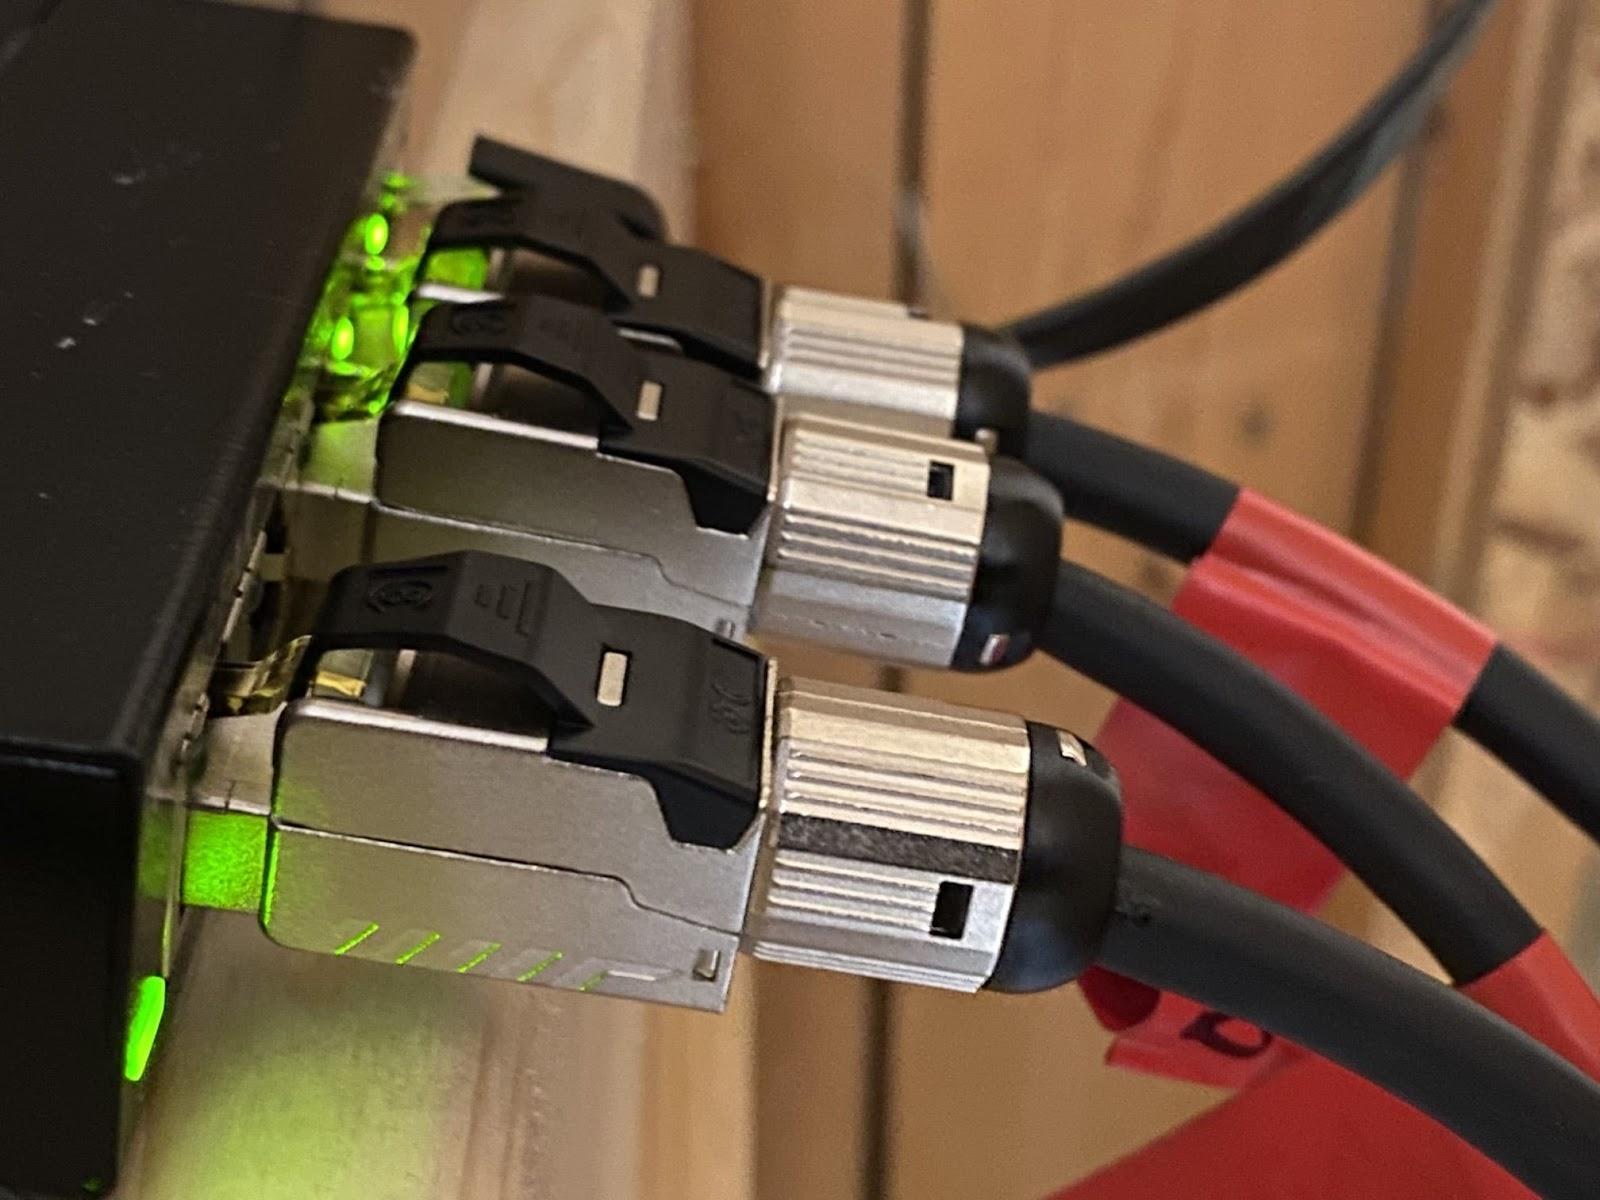
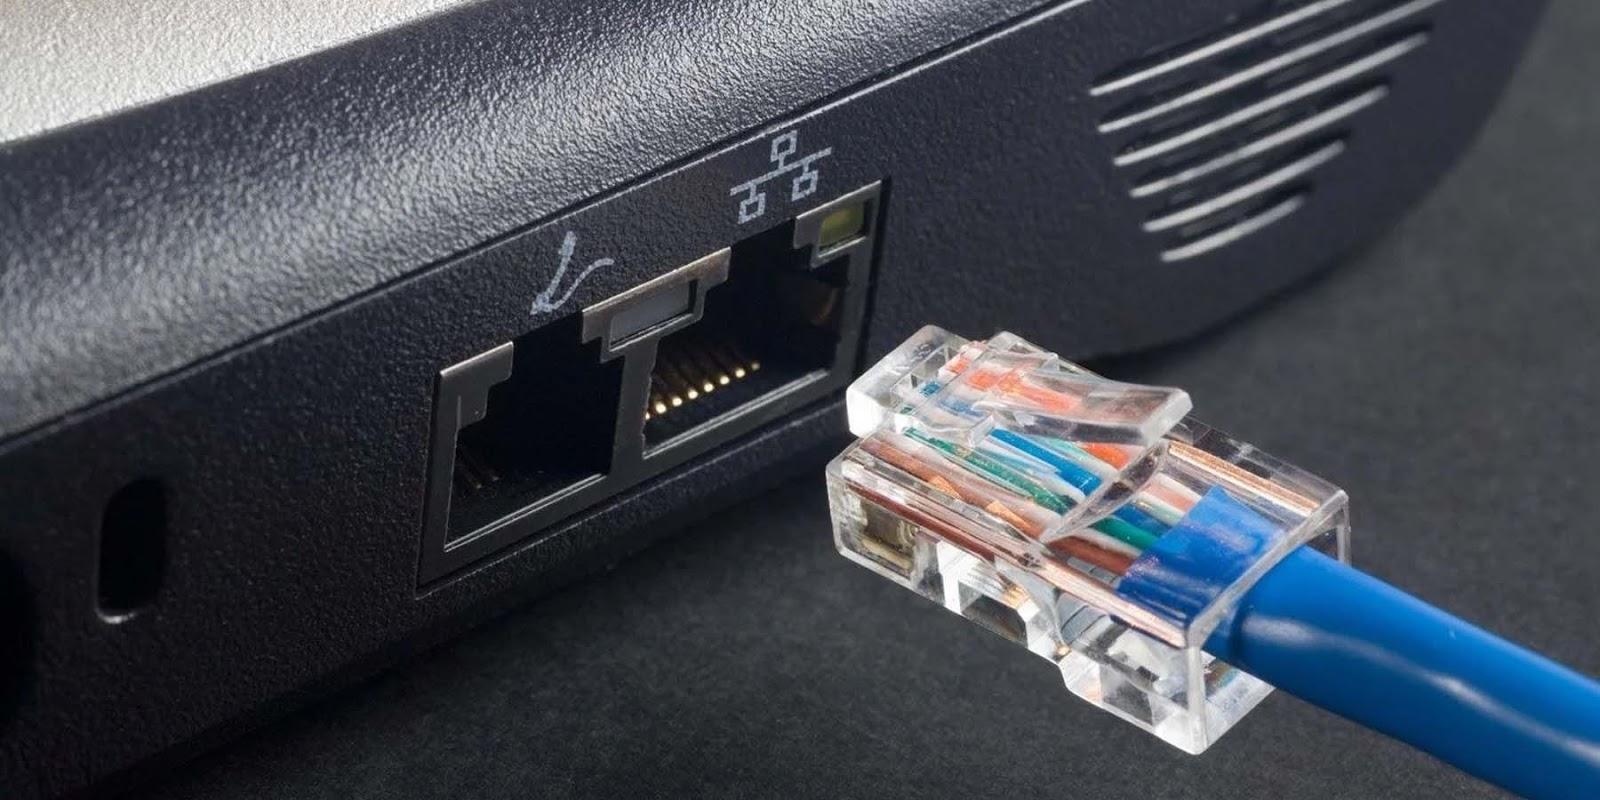
Termination Quality
Punch‑down each conductor—whether solid wire in backbone runs or stranded wire in short jumpers—to full depth; half‑seats become reflection points that gigabit ethernet traffic and Power over Ethernet loads expose as random drops. Trim flush—no “angel hairs” that can bridge contacts and oxidize into high‑resistance faults, especially on budget‑friendly CCA cables. Use ratcheting 110/Krone tools with depth stops, and inspect each block with a pocket scope to confirm insulation displacement is clean.
For RJ45 plugs, choose load‑bar or verified pass‑through variants rated for CAT-8 cables yet backward‑compatible with your CAT7 network. Always finish with a handheld qualifier to verify NEXT and return‑loss margins before snapping the boot in place; those 30 seconds can save hours when a switch port insists the link is only 100 Mb.
PoE Thermal Management
A 96‑cable Cat6A bundle delivering 60 W per link can rise 15 °F above ambient. Space trays, add perforated covers, and use conductor thermocouples during commissioning to confirm heating stays within ISO /IEC 14763‑2 limits. Rotate bundle layers quarterly in high‑draw closets so the same conductors aren’t always in the thermal core.
Derate channel length by 20% if the ambient exceeds 122 °F, such as in unconditioned attics or rooftop walkways. Use online PoE budget calculators to balance switch power sourcing versus device demand and schedule proactive firmware updates that enable LLDP‑MED negotiation for smarter power throttling.
Preventive Maintenance
Schedule annual visual inspections for crush points, water ingress, or rodent damage. Re‑certify channels after major renovations or HVAC overhauls to catch accidental staple strikes and mislabeled terminations. Keep a spare 100‑foot reel of matching cable on site for rapid field repairs without waiting on shipping.
Label each drop with both rack unit and switch port; three minutes spent printing heat‑shrink markers today saves hours during midnight outages. Randomly spot‑test 10 % of links each quarter with a portable certifier to build a trendline of cable health over time.
Product Spotlights: Cables You Can Trust
A theory‑only guide helps little without hardware to buy. The four products below translate specs into links you can terminate this weekend.
GEARit Cat6 Outdoor Waterproof Direct‑Burial Cable

This shielded 23‑AWG Cat6 reel features foil wrapping plus drain wire for EMI suppression and a black LLDPE jacket rated for sunlight and moisture. Pair it with gel‑filled splice closures for long garden runs to security huts.
A sequential footage meter printed on the sheath simplifies cut lists, and the reel ships on a sturdy plywood core—no cardboard collapse halfway through the pull.
GEARit Cat6 Flexible Soft‑Tab Patch Cable (Black)

For rack jumpers and desktop drops, this stranded 24‑AWG lead bends to 90 ° without stressing the latch. The snagless boot shields the RJ45 lever during blind pulls through brushed grommets.
Pure bare copper and 550 MHz testing ensure the cable will pass 2.5 GbE when you swap switches next fiscal year.
GEARit Cat6 Flexible Soft‑Tab Patch Cable (Orange)

Need visual segregation? The identical orange variant marks VoIP or DMZ links instantly. Soft PVC keeps bends smooth, preserving impedance even in dense cable managers.
Fluke certification slips are included in every package, easing documentation for ISO‑compliant builds.
GEARit Cat6 Outdoor Ethernet Cable with CCA

Budget‑minded projects can leverage this CCA direct‑burial reel for non‑PoE LED signage or low‑current sensor backhauls. An overall foil shield plus UV jacket guards against storm exposure.
Frequently Asked Questions
Will Cat6A support 2.5 GbE and 5 GbE without replacing switches?
Yes. Cat6A’s 500 MHz bandwidth easily handles multi‑gig PHYs, so once routers and NICs upgrade, cabling remains intact.
Does shielding need to be grounded at both ends?
Best practice is single‑end grounding to avoid ground loops; bond the drain wire to the patch‑panel earth and float the device end unless manufacturer instructions differ.
How far can I run PoE++ (90 W) over Cat6?
IEEE 802.3bt allows 100 m channel length, but thermal rise may require derating in bundles; use solid copper 23‑AWG and verify with thermocouple readings.
Can I mix solid horizontal cable with stranded patch cords?
Absolutely. Use solid in walls for lower attenuation and stranded at the desk for flexibility—just ensure both are the same category and terminate to T568B on all ends.
Build With Confidence and Bandwidth to Spare
Selecting the best LAN cable is the foundation of a network that grows with your business rather than holding it back. Choose the right category, insist on copper purity, and certify every link; the result is predictable speed, safer PoE power, and effortless scalability.
Ready to wire once and enjoy years of flawless throughput? Shop Best LAN Cable options at GEARit—established in 2006 by California‑based connectivity enthusiasts dedicated to friendly, knowledgeable support—and keep your data moving at full throttle.
]]>